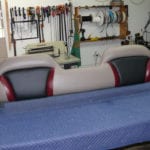



Project Details. reupholstery seat.
- Project: Motorcycle Seat
- Category: Motorcycle Upholstery
Our Task
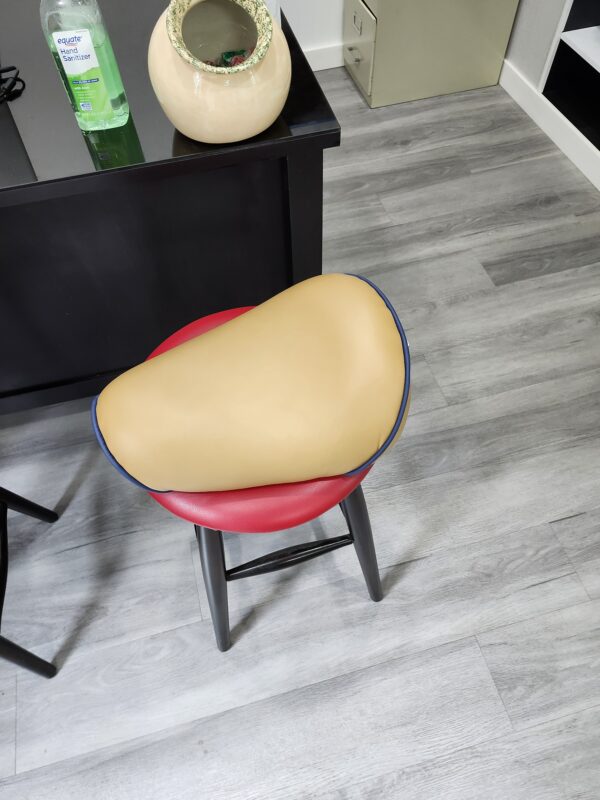
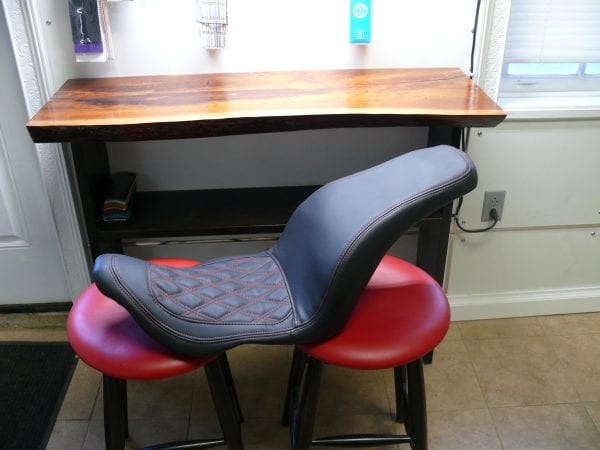
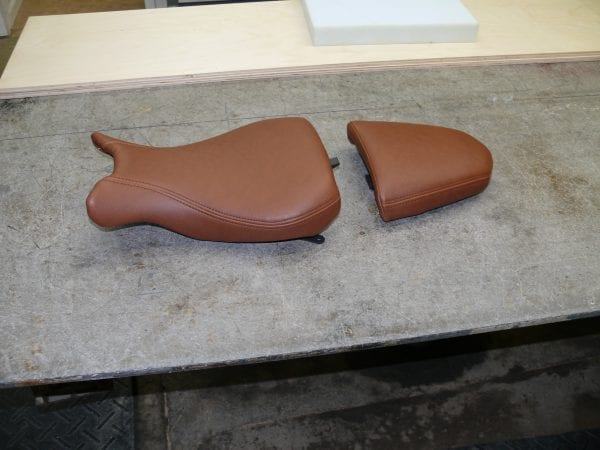
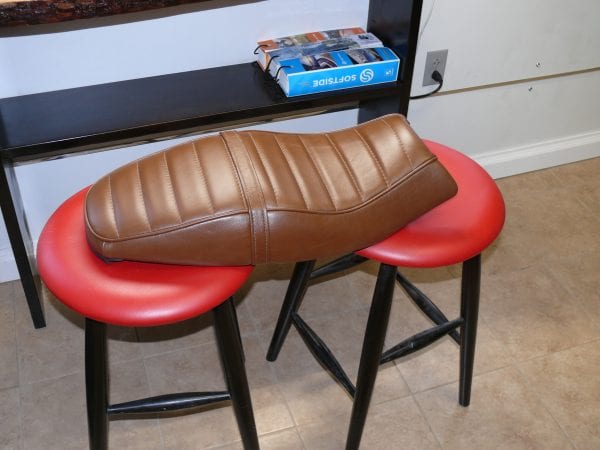
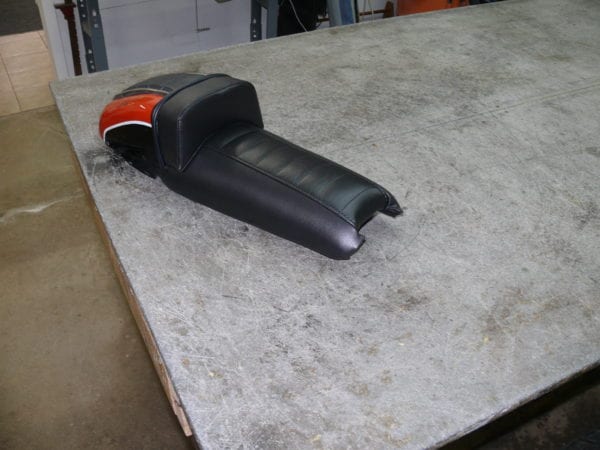
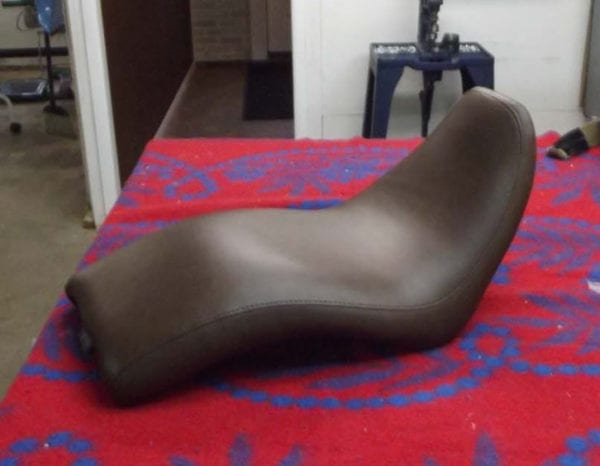
1984 police solo saddle leather seat



1984 police solo saddle leather seat
A solo saddle off a 1984 police motorcycle is a piece of working history. This is not a showpiece seat that spent its life under a cover in a climate controlled garage. It is a seat that carried an officer through eight hour shifts in every kind of weather, mounted on springs so the rider could survive the potholes, shaped narrow so he could plant both boots at a standstill. Duty gear, in the most literal sense.
When one of these saddles comes into the shop, the leather is usually cracked, the stitching is rotted, and the springs wear forty years of surface rust. And the owner, almost every time, wants the same thing: not a new looking seat, but their seat, brought back to strength. That distinction shapes everything about how we approach the work, so let us walk through what a solo saddle actually is, how it fails, and how it comes back.
The leather on a solo saddle has almost nothing in common with the leather on your sofa. Furniture hides are chrome tanned, soft, and finished thin so they can be tailored around cushions. A saddle top is traditionally vegetable tanned skirting leather, the same family of material used for horse tack, and it is heavy, dense, and firm. Instead of being padded and sewn into slipcovers, it is cut thick, soaked, and molded wet over the seat pan, where it dries into a shape it will hold for decades. The leather itself is the structure.
Everything about working it is different too. Edges are cut clean, slicked, and burnished rather than hemmed. Attachment happens with rivets, lacing, and heavy hand set stitching rather than staples hidden under a frame. Tooling and stamping, where a seat has them, are struck into the damp leather and become permanent. This is closer to saddlery than to upholstery, which is why so few shops will touch a solo seat properly. We handle them as part of our motorcycle upholstery service, alongside every other seat that lives its life in open air.
A motorcycle seat has no roof, no glass, and no mercy. Sun drives the moisture and oils out of the leather from above while rain soaks in from every direction, and that wet dry cycling is the exact recipe for cracking. The stitching usually dies first; linen and early nylon threads rot quietly in the needle holes until one day a seam simply lets go. Then the leather, drying and shrinking, splits along the pan edges where it was stretched tightest all those years ago. Road salt and mildew take their shares during storage, and the springs and mounting hardware rust wherever plating wore through.
What surprises people is how much of a saddle survives all that. The steel pan under the leather is usually sound, the springs almost always clean up, and even badly cracked tops preserve the exact shape and mounting geometry we need for the rebuild. A solo saddle that looks finished rarely is. Condition varies enormously though, which is why every seat is quoted individually once it is on the bench and we can see what forty years actually left us to work with.
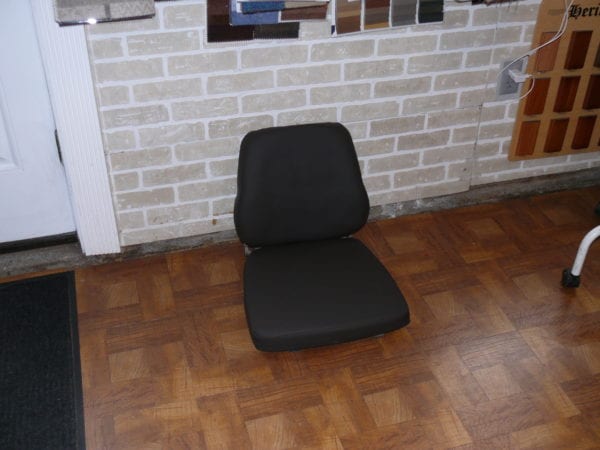
The rebuild starts with careful disassembly. The old top comes off with its rivets drilled and its lacing unpicked, and it is kept, both as the pattern and as the reference for every crease and tooling line the owner wants honored. The pan is cleaned and treated, the springs and hardware are addressed, and any padding layer is renewed. Where original hardware is sound, it stays; a preserved mounting bracket or spring set keeps the seat’s identity in a way reproduction parts never do. That keep it original instinct runs through all our vehicle work, including the 1956 International pickup truck bench we finished, where the goal was always the truck’s own character, just healthy again.
Then the new top is cut from heavy skirting leather, cased with water until it is workable, and molded over the pan so it dries into the saddle’s shape. Stitching goes in with heavy bonded thread, lacing is redone where the original design used it, and the edges are slicked and burnished by hand. Finally the leather is dyed, the classic police look is deep black, oiled and sealed against the weather it is going back out into. If you would like to see this kind of work between the raw hide stage and the finished seat, come tour our shop; the saddle bench explains itself better in person than any photograph.
The springs deserve their own note. A solo saddle rides on a pair of coils that do the suspension work modern seats leave to foam, and their mounting studs are usually the crustiest part of the whole assembly. We strip the surface rust, check each coil for cracks at the stress points where they always start, and refinish the metal to suit the bike. A saddle that bounces the way it did on duty in 1984 is half the pleasure of riding one, and sound springs are cheap insurance for the leather that sits above them.
Not every hide can do this job. Saddle tops call for vegetable tanned leather in a proper weight, heavy enough to hold its molded shape and take a burnished edge. The finish matters as much as the weight: oiled and waxed finishes shed water and feed the fibers, while the delicate aniline finishes we love on furniture would be destroyed by a single wet season. Bonded leather and thin fashion hides have no business anywhere near a motorcycle; sun and rain will unmake them in a year or two. This is one of the few corners of upholstery where tradition and performance point at exactly the same material.
There is an honest alternative worth mentioning. Plenty of riders choose marine grade vinyl for daily bikes, and it is a rational choice: it ignores rain, cleans up with a damp cloth, and modern grains look convincing. We keep a guide on cleaning vinyl upholstery for exactly those owners. But on a 1984 police solo, leather is the correct answer, because the seat is the artifact. The reasoning is the same case we make in our post on why restoration beats replacement: when the original object carries the value, you restore the object. The craft that goes into these decisions is on display across our leather work gallery, from duty saddles to a living room design mixing leather and fabric, and the common thread is matching the material to the life it will lead.
A restored saddle asks for a simple rhythm. Wipe it down after wet rides and let it dry naturally, never against a heater, because forced drying is what cracks molded leather. Feed it a few times a season with a quality leather dressing intended for tack or saddlery, applied thin. Park out of direct sun when you can, and cover the seat if the bike lives outside. Through a Pennsylvania winter, store the bike dry and give the leather a conditioning before the layup, since months of cold storage in a damp garage do more harm than a whole summer of riding. If the bike trailers to shows, cover the seat for the highway leg; sixty miles of interstate grit will sandblast a finish faster than a season of Sunday rides. The Smithsonian’s Museum Conservation Institute studies how leather ages and why it fails, and its findings back up the old saddler’s rule: keep it clean, keep it fed, keep it dry.
Depth decides it. Surface crazing in the finish can often be cleaned, conditioned, and re-dressed. Cracks that penetrate the leather are permanent, and a top with structural cracks should be remade, using the original as the exact pattern. Either way the pan, springs, and hardware, the bones of the seat, are almost always reusable.
Not the way we build them. New skirting leather starts stiff and uniform, but correct dye, oiling, and a few hundred miles of riding settle it into the bike quickly. We can also finish the leather toward a broken in character from the start. What looks wrong on a vintage machine is foam and vinyl pretending to be a saddle, not honest new leather doing its job.
Dry, covered, and fed. Clean the seat, condition it, and store the bike somewhere with reasonable humidity, not a damp shed. Use a breathable cover rather than plastic sheeting, which traps condensation against the leather. In spring, one more light conditioning before the first ride and the saddle is ready for the season.
If there is a solo saddle in your garage waiting for its second tour of duty, request a quote with a few photos of the top, the pan, and the springs, or call 717-383-6917 and describe what you have. We will tell you what can be saved, what should be remade, and how to keep a working piece of history working.
 Get a Free Quote!